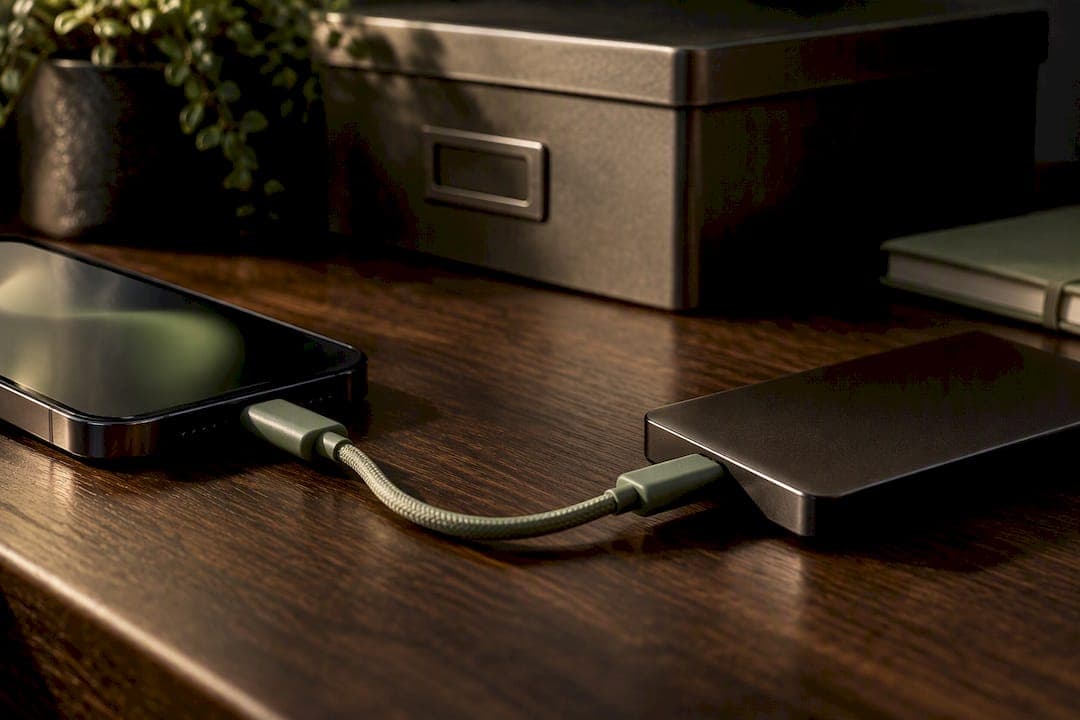
An encrypted local backup through Finder or iTunes is the only offline method that captures Health and Keychain data alongside everything else on an iPhone. Files app exports to an external drive work well for photos and documents you want to archive selectively. Offline hardware accessories add convenience for media but skip system-level data entirely, and a lost backup password makes an encrypted backup permanently unreadable.
TL;DR:
- Encrypted local backups through Finder or iTunes include Health and Keychain data but require a known password; losing it renders the backup permanently unreadable.
- File exports using the Files app quickly archive photos and documents to a compatible drive, but do not include app data or system settings.
- Offline hardware accessories mostly back up media libraries and are useful for convenience, yet they do not replace full encrypted backups or system images.
- Building a reliable routine involves regular encrypted full backups and more frequent file exports, with passwords stored securely and backups tested periodically.
- Offline backup methods should complement each other to minimize data exposure, ensuring both full restore capability and accessible media archives.
Table of Contents
- Which offline backup method fits your needs
- How to create a complete encrypted local backup
- Exporting personal files to an external drive with the Files app
- What offline backup accessories actually deliver
- Keeping offline backups private and actually usable
- Building a realistic offline backup habit
- Sources
- FAQ
- A private-by-design alternative to backup anxiety
Which offline backup method fits your needs
Three practical paths exist for keeping iPhone data off the cloud, and each serves a different purpose. Picking the right one depends on whether you need a complete restore point or just a copy of your files.
- Encrypted local backup (Finder or iTunes): captures the full device state, including Health and Keychain, and needs a cable or Wi-Fi connection to a paired computer.
- Files app export to an external drive: copies photos, videos, and documents directly to a USB-C drive, but leaves out app data and system settings.
- Offline hardware accessory: a charger-with-storage or flash-drive adapter that pulls media over automatically, useful for convenience but limited to photo libraries in most cases.
The encrypted local backup demands the most setup, a cable or trusted Wi-Fi pairing and roughly the same free space as the data on the device. File exports require only a compatible drive and a few minutes per session. Hardware accessories trade thoroughness for near-zero effort, which matters if your priority is a quick photo archive rather than a full recovery image.
How to create a complete encrypted local backup
Before starting, confirm the computer runs macOS 10.15 or later for Finder, or a current version of iTunes on Windows, and that the target drive has enough free space to match the data on the iPhone. A Lightning or USB-C cable works, though Wi-Fi backups are possible once the device has been paired with the computer at least once, since local backups can run over a trusted network connection rather than a physical cable, according to Apple's backup documentation.
- Connect the iPhone to the computer and open Finder (macOS) or iTunes (Windows).
- Select the device when it appears in the sidebar or device list.
- Choose "Back up all of the data on your iPhone to this Mac" or the equivalent option in iTunes.
- Check the box for "Encrypt local backup."
- Set a password when prompted, then confirm it.
- Click "Back Up Now" and wait for the process to finish.
Encryption is what makes the backup complete. According to Apple's guidance on encrypted backups, encrypted local backups include Health and Keychain data along with Wi-Fi settings, categories that unencrypted local backups intentionally exclude. That single checkbox is the difference between a partial snapshot and a full one.
The tradeoff is irrecoverability. If the password is lost, there is no way to reset or bypass the encryption, and the backup itself becomes unusable. A new backup with a new password is the only path forward.
Pro Tip: Write the backup password on paper and store it somewhere fireproof, or save it in a password manager separate from the device you're backing up.
To verify success, open Finder or iTunes, go to the device summary, and check the date and time listed under "Latest Backup." A small lock icon next to the backup entry in "Manage Backups" confirms encryption is active. Restoring later means connecting the device, choosing "Restore Backup," selecting the dated entry, and entering the password when asked.
Exporting personal files to an external drive with the Files app
For a lighter alternative, the Files app on an iPhone with a USB-C port can copy photos, videos, and documents directly onto an external drive without touching a cloud service. This method suits anyone who wants an archive of specific content rather than a full device image.
- Photos, videos, PDFs, and documents saved in Files or the Photos app transfer directly.
- App data, system settings, Health records, and Keychain entries do not transfer this way.
- Files formatted as exFAT read on both Windows and macOS, while APFS favors Apple-only workflows.
According to Apple's file transfer guidance, the Files app writes to drives formatted APFS, exFAT, or MS-DOS (FAT), and this kind of transfer moves individual files rather than a complete backup image. That distinction matters when originals live only in iCloud: those files need a brief network fetch to download locally before they can copy to a drive, even though the export itself stays offline.
One useful figure to keep in mind: exFAT remains the most broadly compatible choice for a drive that needs to work across both Windows and macOS machines, according to Apple's transfer documentation.
After copying, spot-check a handful of files on the drive to confirm they open correctly, then organize them into dated folders so future searches stay manageable.
What offline backup accessories actually deliver
A handful of hardware categories market themselves as offline iPhone backup solutions. A charger-with-storage device backs up photos while the phone charges. A flash-drive adapter plugs into the Lightning or USB-C port for manual transfers. Open-source appliance projects, often built around a single-board computer, offer a fully offline backup setup but require technical assembly, as described in one community project writeup.
Most of these tools target photo and media libraries specifically. Third-party apps such as AmberTime back up the Photo Library and selected Files folders to storage the user controls, without uploading anything to a remote server, but none of these approaches replace a full encrypted system image.
Before trusting a vendor's privacy claims, check for these three things:
- Storage stays local, with no mandatory cloud sync step buried in setup.
- The device or app supports encryption at rest, not just password-protected access.
- No account creation is required to use core backup functions.
Pro Tip: Treat any offline accessory as a supplement to, not a replacement for, an encrypted Finder or iTunes backup.
Keeping offline backups private and actually usable
Local processing reduces exposure by keeping personal data off servers you don't control, the same principle that shapes on-device privacy tools generally. Applied to backups, that means favoring encrypted full backups for anything you'd need to fully restore, and file-level exports for large media collections you're archiving separately.
A workable routine has three habits: run an encrypted full backup on a schedule, export photos and documents to a drive more frequently, and store backup passwords somewhere physical and secure rather than only in your head. Label each backup drive with a date, keep at least one copy in a different physical location than your primary device, and test a restore occasionally so you know the backup actually works before you need it.

Building a realistic offline backup habit
The most durable routine isn't the most technical one. A monthly encrypted full backup paired with more frequent photo exports covers most realistic recovery scenarios without demanding constant attention. Recovery from a local backup takes longer than restoring from iCloud in some cases, since it depends on physical access to the right drive and cable, but that tradeoff comes with far less exposure to remote servers.
Keep a short offline recovery checklist near your backup drive: the password, the date of the last full backup, and the steps to restore. It's a small habit that prevents a lost password from becoming a lost archive.
— Alex
FAQ
How do I back up personal data on my iPhone without the cloud?
Connect the iPhone to a computer, open Finder or iTunes, select the device, and choose "Back up all of the data on your iPhone to this Mac," then check "Encrypt local backup" before starting. This creates a complete local copy that includes Health and Keychain data, according to Apple's encrypted backup guidance.
Can I back up my iPhone using cellular data?
Local computer backups through Finder or iTunes don't use cellular data at all since they transfer directly to a paired computer over a cable or trusted Wi-Fi connection. Cellular data only comes into play if you're using iCloud backup instead of a local one.
How do I back up my iPhone to a computer without iTunes?
On a current Mac, Finder handles local device backups directly since iTunes was replaced by Finder and separate apps for media. Connect the iPhone, select it in Finder's sidebar, and choose the backup option there, following the same steps as an iTunes backup on Windows.
Will iCloud backup continue without Wi-Fi?
iCloud backup requires an internet connection to complete, so it will not run over a purely offline connection. A local backup through Finder or iTunes is the alternative that works without any internet access once the device is paired with the computer.
A private-by-design alternative to backup anxiety
Backing up sensitive personal data, financial records, journal entries, transcripts, often means trusting a cloud service to hold information you'd rather keep local. Obsidian Ridge Labs builds apps for transcription, finance management, and personal journaling that process everything on the device itself, so the data never leaves in the first place. There's no backup password to lose because there's no cloud copy to protect against.
Echo Chamber Pro offers monthly, yearly, and one-time purchase options; current prices are available on the Echo Chamber Pro app page. Anyone who has spent an afternoon setting up encrypted backups to keep personal data off remote servers already understands the appeal of an app that skips that step by design.
